This easy to follow recipe for making a large batch strawberry jam (with half the amount of sugar) is a great way to capture the amazing taste of seasonal strawberries while controlling the amount of sugar and preservatives in your jam.

Never Enough Strawberry Jam in Our House
Straberry jam is a family favourite, one that we use almost daily whether it’s on warm delicious breakfast crepes, grandma’s easy homemade baked white bread or simply on a slice of toast with peanut butter. You can imagine how quickly we go through a single jar of strawberry jam!
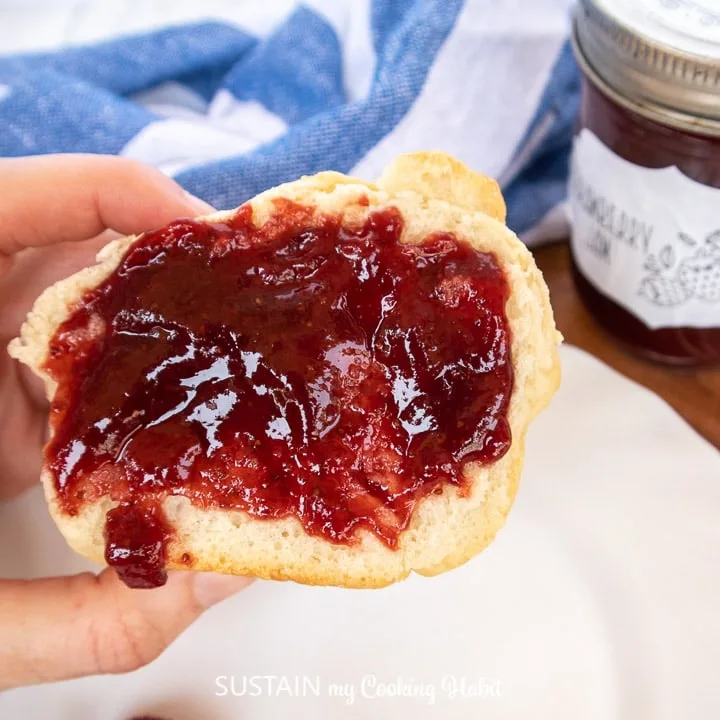
At the same time find that good quality jam is quite expensive – most have added sugars, color, fillers and preservatives. So when these deliious red gems come in season, we take the opportunity to make several jars of yummyness.
This recipe for making a large batch of strawberry jam produces 12, 8oz jars of delicious and fresh strawberry jam. Although we’ll use every last jar, it is also nice to have extra in the pantry to give to friends when they come visit.

Additionally, this strawberry jam uses half the amount of sugar compared with classic jam recipes. Since our dad is diabetic, our mom makes this recipe using granulated Stevia in place of 1/3 of the sugar. You honestly can’t even tell the difference. Even my husband who LOVES a sweet jam finds this one to have the right amount of sweetness.

Ingredients for Large-Batch Strawberry Jam
Makes 12 jars (8 oz) of strawberry jam.
- 4 kg strawberries (32 cups), washed and hulled
- 7 cups granulated sugar
- 3 cups granulated Stevia in the Raw sweetener
- 3 tbsp pectin
- juice from 2 lemons
Helpful Supplies:
- large roasting pan
- 12 mason jars with lids, 8oz
- deep dish baking pan
- hand blender
- tongs
- paper towels
- tea towel
How to Make Strawberry Jam:
Rinse strawberries really quickly in running water. Do small batches at a time.
Place all washed and hulled strawberries with sugar and lemon juice in a large roasting pan and let marinate covered overnight.
Next day, preheat the oven to 340F.
Place the roasting pan in the oven and bake for 2 hours uncovered, stirring occasionally.
Remove the roasting pan from the oven. While still hot, and using a hand mixer, carefully mash the softened strawberries until smooth.

Dissolve pectin in 1/4 cup of water and add it to the jam.
Place the roasting pan back into the oven uncovered and bake again for another hour.
If the jam has not thickened to your liking, transfer the mixture to a large pot and bring to a boil on the stovetop. Let cook on medium-high heat for about 30 minutes until thickened. Stir often to keep from burning on the bottom.

Sterilizing the Jars:
The goal in sterilizing your jars is to kill any microbes on the inside surfaces of the jars and lids.
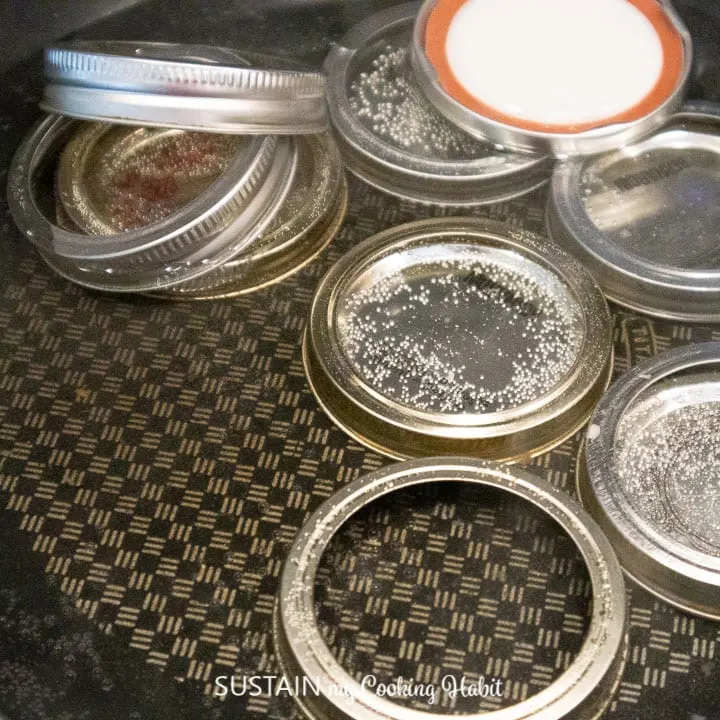
Place new or thoroughly cleaned jars (ideally fresh from the dishwasher washed on hot setting) and lids in a large pot filled with water and boil on the stove top for 10 minutes.
Alternatively, arrange the cleaned jars, open side up, in a deep, oven-safe baking dish. Place the dish with the jars into the oven and heat to 210F for 15 minutes. The jars will be sterilized – make sure not to touch the insides of the jars with anything that hasn’t been sterilized.
Just before pouring into the jars, boil the rims, lids, a pair of tongs and ladel on the stove top for 5 minutes. Do not touch any of the inside surfaces with anything that hasn’t been sterilized.
Filling the Jars:
While still hot, transfer the thickened jam to the hot sterile jars, leaving 1/4 to 1/2 inch headspace.

Clean the outside rims of jars with a clean papertowel and seal with the sterilized lids.

Place the baking dish with the jars upright back in the oven for another 30 minutes at 210F.
Remove from the oven, cover with a clean tea towel and let cool overnight. You’ll know your jars are sealed if the lids are concave (i.e. you can’t push them down because they are already completely down). Any jars that did not seal properly should be placed in the fridge and used within 7-10 days.
Storing the Jam:
Once sealed, add a label to the jars like we did with these DIY mason jar labels using our Cricut Joy and store them in a cool place. Refrigerate after opening the jars.

More Delicious Jams and Preserves:
Making homemade jam is addictive, once you start you won’t want to stop! From the cost savings to using natural ingredients and controlling the amount of sugar, the benefits of making jam at home are abundant. Here are some more recipes to get you inspired:
- Instant Pot Berry and Pepper Jam
- Sweet Mulberry Jam
- Easy 4 ingredient Quince Jam
- Membrillo (Quince Paste)
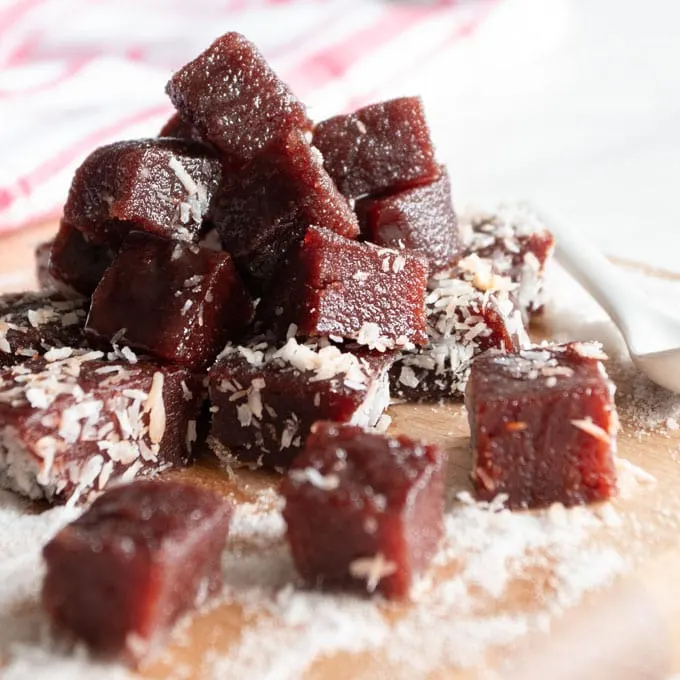
Membrillo 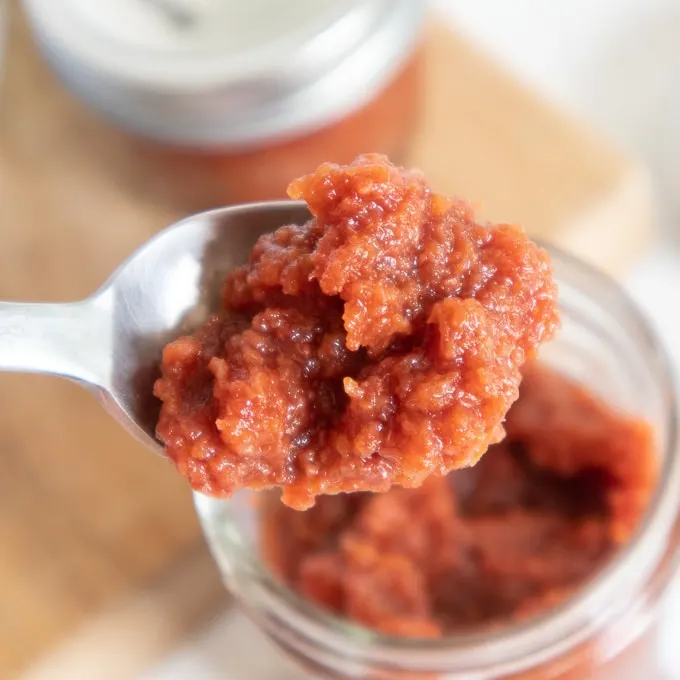
Quince Jam 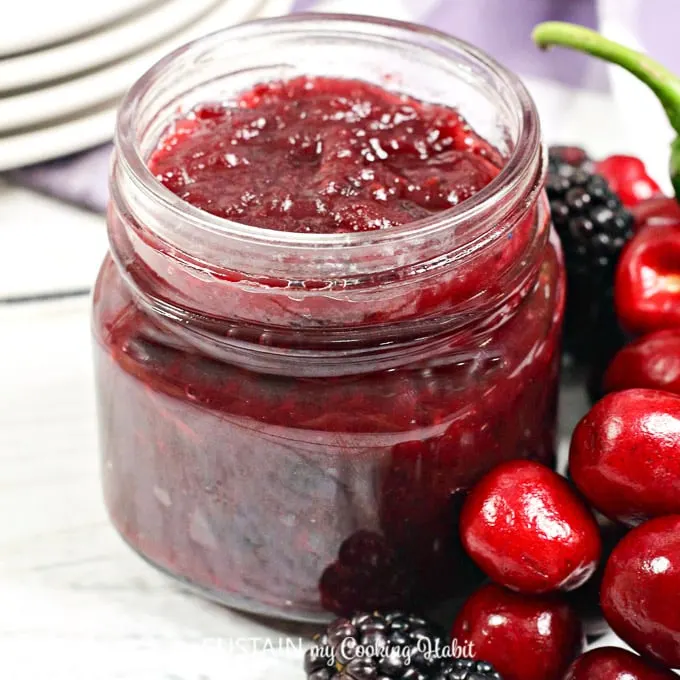
Double Berry and Pepper Jam 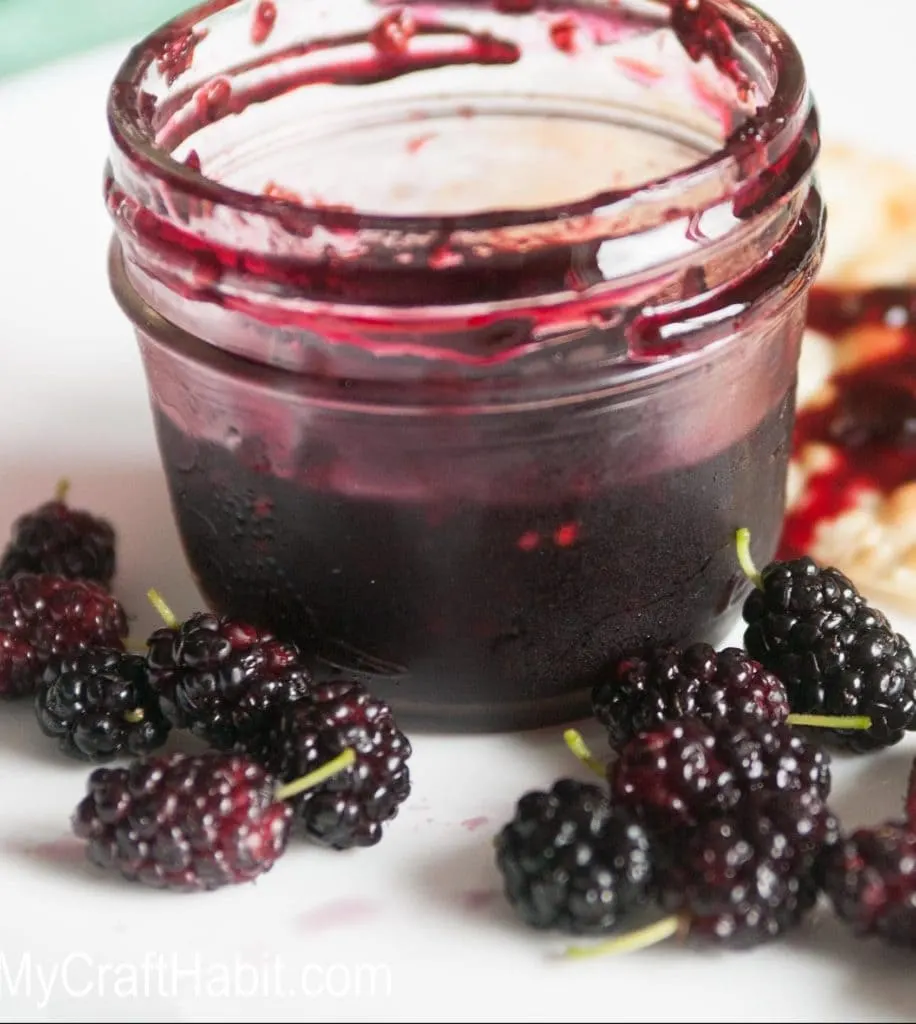
Mulberry Jam Recipe
Have you made strawberry or any other type of jam?
If you like this recipe please help us out by Pinning the image below to your favorite desserts board!


Large-Batch Strawberry Jam Recipe (Reduced Sugar)
Equipment
- large roasting pan
- deep dish baking pan
- hand mixer
- 12 mason jars, 8oz
Ingredients
Instructions
- Place washed and hulled strawberries with sugar and lemon juice in a large roasting pan and let marinate covered overnight.
- Next day, preheat the oven to 340°F. Bake for 2 hours uncovered, stirring occasionally.
- Using a hand blender, mash softened strawberries until smooth. Stir in dissolved pectin.
- Place the roasting pan back into the oven and bake again for another hour uncovered.
- If the jam has not thickened to your liking, transfer the mixture to a large pot and bring to a boil on the stovetop. Let cook on medium-high heat for about 30 minutes until thickened. Stir often to keep from burning on the bottom.
- Transfer to hot sterile jars, leaving 1/4 to 1/2 inch headspace, clean rims of jars and seal with sterilized lids.
- Place jars upright in a large deep dish baking pan and place in the oven for another 30 minutes at 210°F.


Julie
Monday 4th of July 2022
Do I let marinate overnight in the fridge or on the counter? Thanks!
Jane and Sonja
Monday 4th of July 2022
Hi Julie. In the fridge would be idea, especially if you're kitchen is warm. You don't want them to start fermenting! Kind regards, Jane