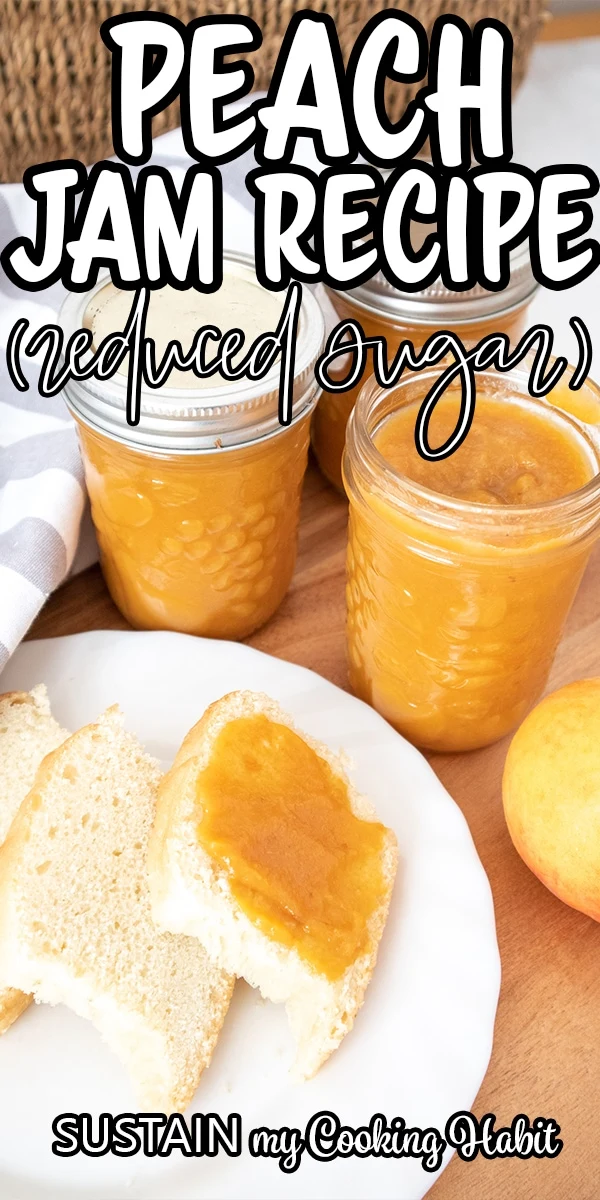
It’s peach season friends! We’re so excited to show you how to make low sugar peach jam from scratch. It’s a great way to savor the delicious and sweet flavors of fresh peaches all year long.

Easy Peach Jam Recipe (with Less Sugar!)
One of the highlights of summer for many of us here in Ontario, Canada is eating fresh and juicy locally grown peaches. When the peach season hits, my family steadily begins preparing all sorts of homestyle recipes such as this sweet peach streusel and our go-to canned peaches.
Additionally, making this easy peach jam recipe allows us to preserve the unique peach flavors with less sugar! We use a 1:3 sugar to peaches ratio when making this jam which is considerably less than traditional jam recipes. Additionally, we often substitute granulated sugar with other natural sweeteners, such as Stevia since our father is diabetic. So if you want to try this instead, use granulated Stevia in place of 1/3 of the granulated sugar.
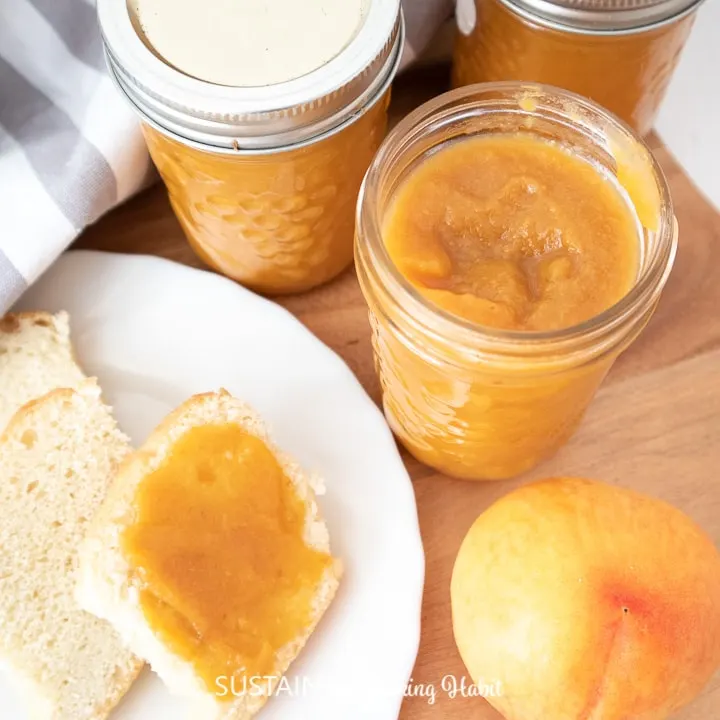
Ingredients Needed For Homemade Peach Jam
Disclosure: This post contains affiliate links for your shopping convenience. Should you chose to purchase through these links we make a small commission at no extra cost to you. You can read our full disclosure here.
- 1 basket of ripe peaches (3 litres = 4 pounds of fruit (about 12 cups) ; freestone peaches
- 2 tbsp pectin powder
- 2 tbsp lemon juice
- 4 cups granulated sugar (or 3 cups of sugar and 1 cup of Stevia sweetener)
Equipment Needed:
- Large cooking pot, non stick
- Hand Mixer (immersion blender) or potator masher
- 8oz mason jars with lids
- Large pot or deep dish baking pan (to sterilize jars)
- Tongs and ladel
- Dishtowels
How To Make Low-Sugar Peach Jam
Ensure peaches are soft, well ripened. Wash those juicy peaches well in cold water and cut into quarters, leaving the peach skin on and removing the pits.
Place peaches in a large non-stick cooking pot with lemon and sugar. Leave the peaches to sit for 2-3 hours at the minimum, overnight is ideal.
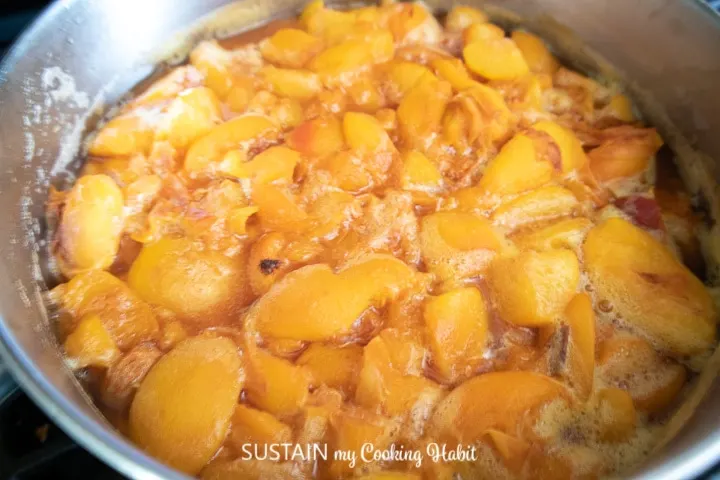
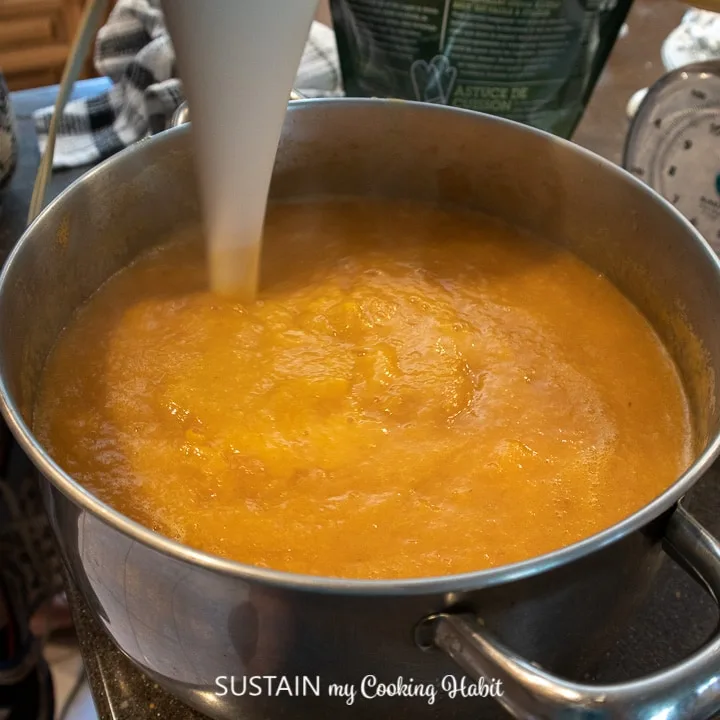
Place the pot on the stove top and begin to saute over low heat. Stir with a wooden spoon occasionally. Once the peaches appear mushy and soft (after about 30 minutes), use a hand blender (or potato masher) and blend the peaches in the pot. Note: if you prefer a smoother jam, blend the peach mixture in a food processor.
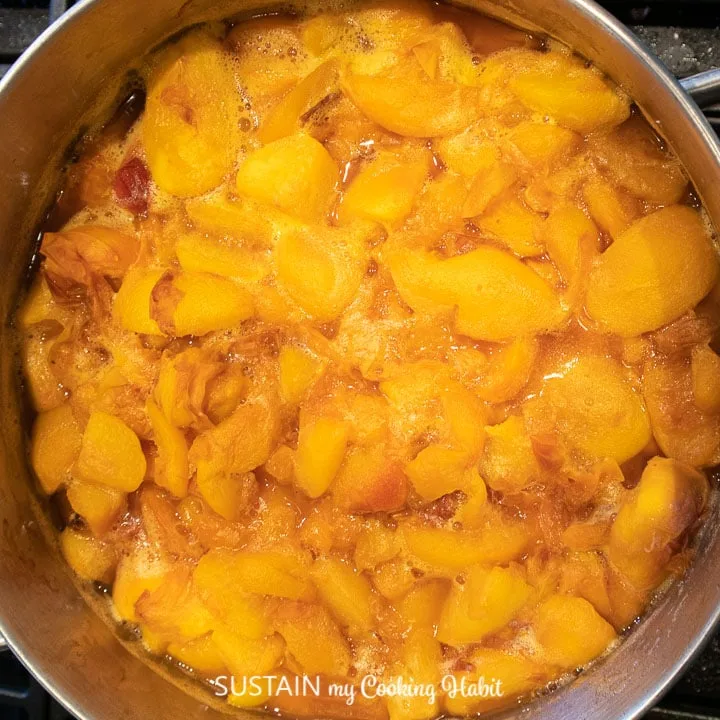
Place your pot of mashed peaches on medium-high heat and cook for 30 minutes.
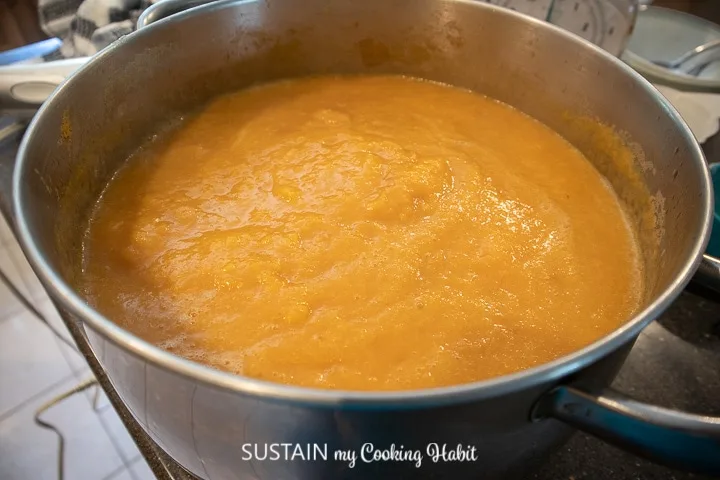
After 30 minutes, stir pectin into 1/4 cup of room temperature water and then add the peach mixture. Stir in completely with a wooden spoon.
When the peaches appear thick, grab a spoon to taste. If you find the jam is not sweet enough, add more sugar and stir.
Sterilizing the Jars and Lids
The goal in sterilizing your jars is to kill any microbes on the inside surfaces of the jars and lids.
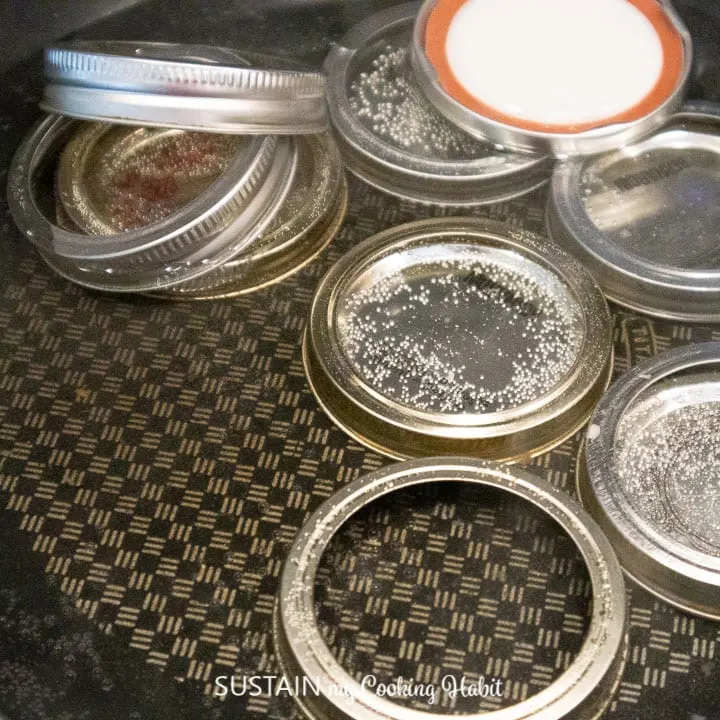
Place new or thoroughly cleaned jars (ideally fresh from the dishwasher washed on hot setting) and lids in a large cooking pot filled with water and boil on the stove top for 10 minutes.
Alternatively, arrange the clean jars, open side up, in a deep, oven-safe baking dish. Place the dish with the jars into the oven and heat to 210F for 15 minutes. The jars will be sterilized – make sure not to touch the insides of the jars with anything that hasn’t been sterilized.
Just before pouring the jam into the jars, boil the rims, lids, a pair of tongs and ladel on the stove top for 5 minutes. Use the tongs to place the lids on to the jars. Do not touch any of the inside surfaces with anything that hasn’t been sterilized.
Finishing the Peach Preserves
Pour the hot jam into the hot jars, leaving about 1 inch headspace at the top of the jar. Avoid getting jam on to the jar rims and if needed, wipe jar rims (outside only) with a clean cloth. Tap the side of the jar gently to release any air bubbles then seal the jar with a lid and losely placed ring. Place jars into the oven at 220F on a baking sheet for 30 minutes for a better seal.
Remove the jam jars from the stove and place of a dishcloth lined surface (such as your counter). Cover with another dishcloth to help keep the jars warm a little longer. Let rest overnight.
The next day check if the jars are sealed properly by pushing down the center of each lid. If you hear a clicking sound it means the jar is not sealed well. Place any jars that are not sealed properly in the fridge to enjoy within 7-10 days.
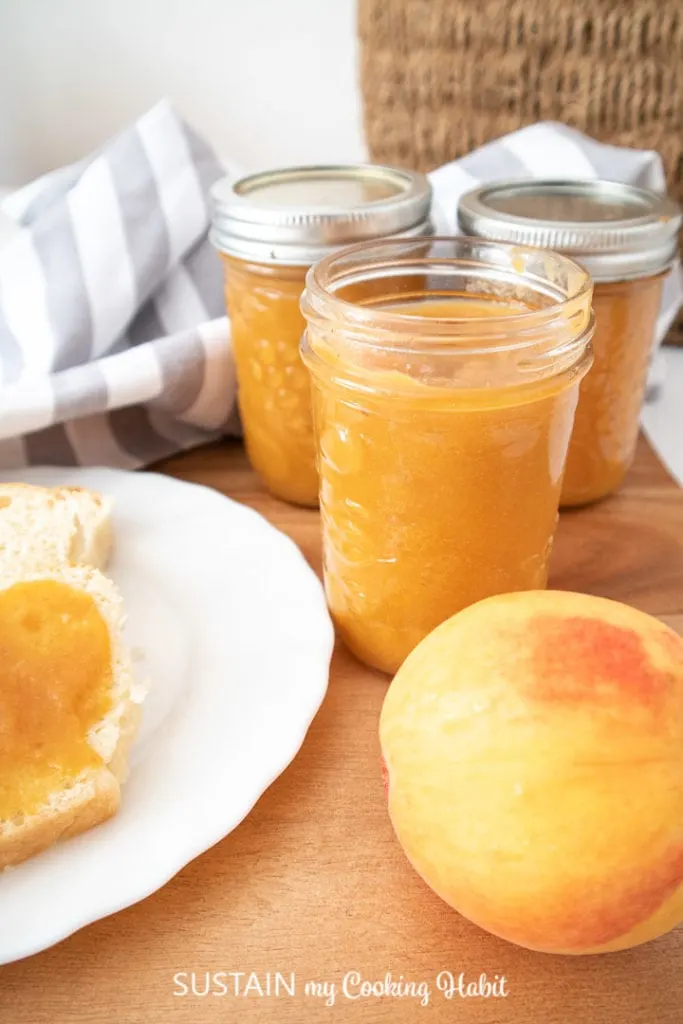
Storing the Peach Jam
Properly sealed jars of peach jam can be stored in a cool, dry location for up to year.
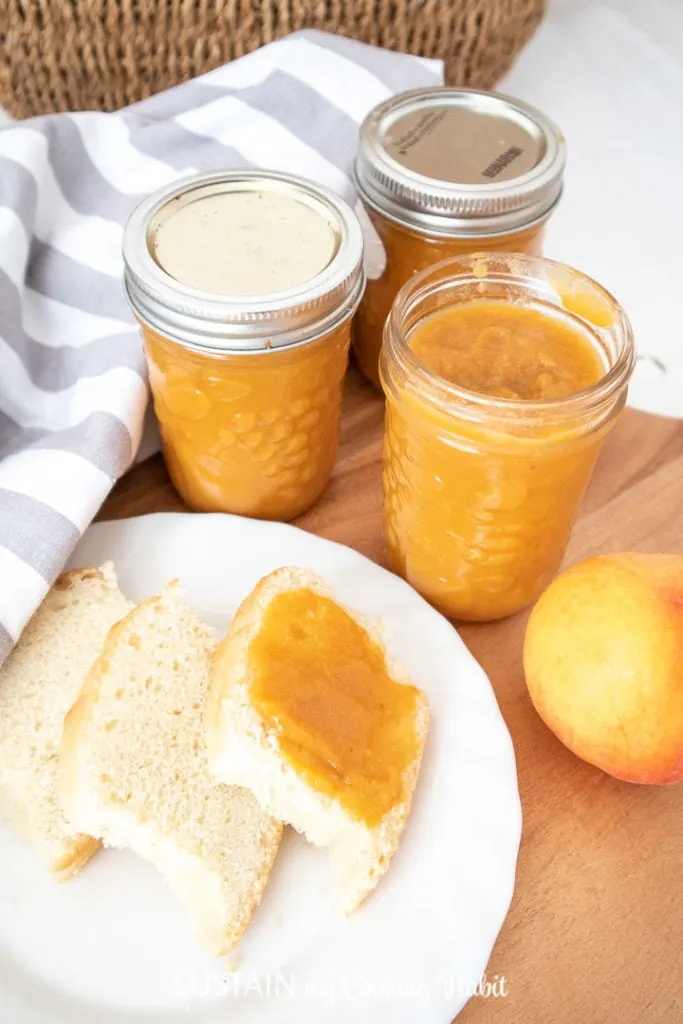
And that’s it! You have delicous low-sugar peach jam that store-bought can’t compete with! Some of our favorite ways to enjoy our jars of jam are to spread across fresh-baked bread, on French toast or bake into our jam-filled cresent cookies (kiflice)!
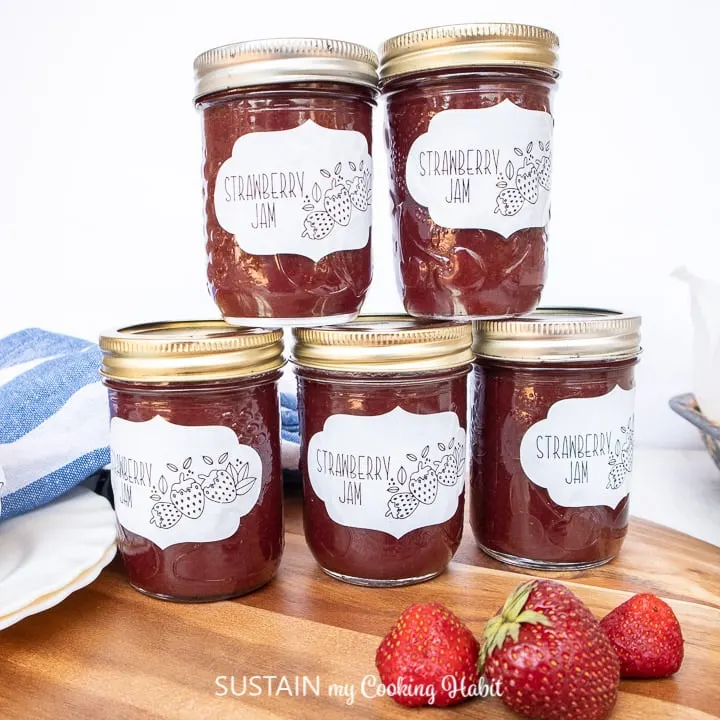
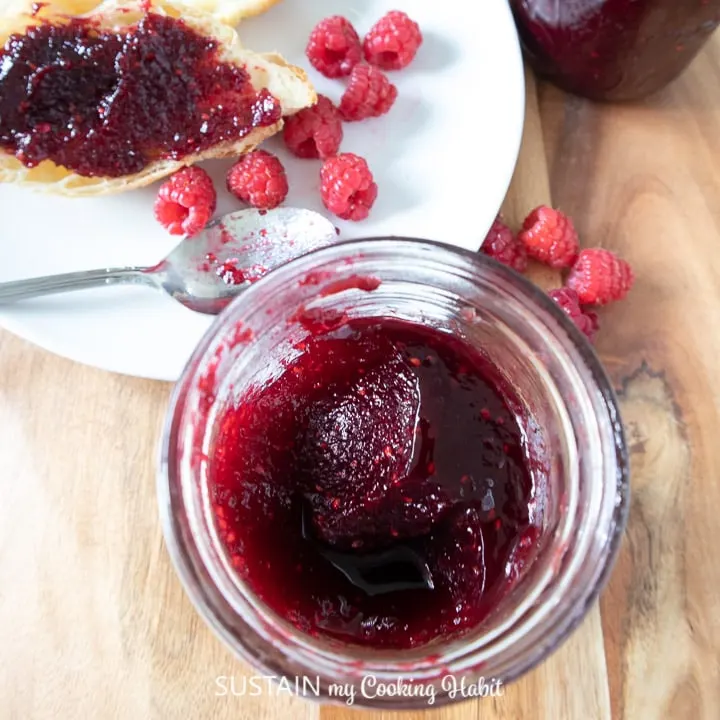
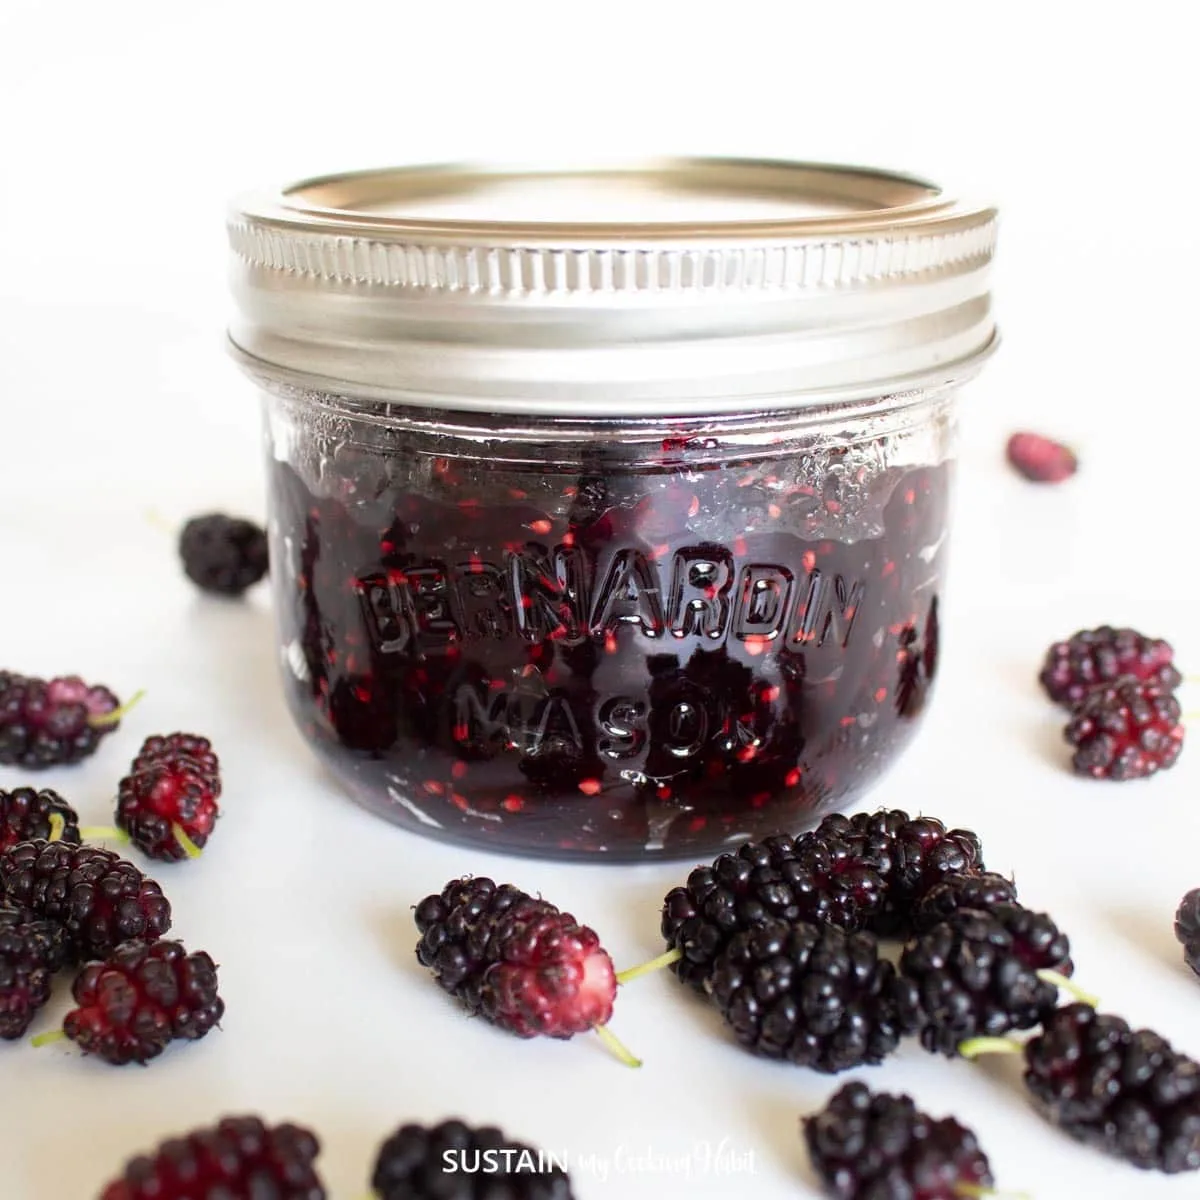
And if you enjoy making your own jam, check out our low-sugar strawberry jam recipe, delicious raspberry jam and popular mulberry jam recipes!
Easy Low-Sugar Peach Jam Recipe
Equipment
- Large cooking pot non-stick
- Hand mixer (Immersion blender) or potato masher
- 6 Mason jars with lids 8 oz size
- Large pot or deep dish baking pan to sterilize jars
- Tongs and ladel
- Dishtowels
Ingredients
- 12 cups basket of peaches (stone-free) 3 litres = 4 lbs (12 cups)
- 2 tbsp pectin
- 2 tbsp lemon juice
- 4 cups granulated sugar 1 cup peaches = 1/3 cup sugar
- 1/4 cup water
Instructions
- Wash peaches well and cut into quarters, leaving the skin on and removing the pits.
- Place peaches in a large non-stick cooking pot with lemon and sugar. Leave the peaches to sit for 2-3 hours at the minimum, overnight is ideal.
Cooking the Peaches
- Place the pot on the stove top and begin to saute over low heat. Stir with a wooden spoon occasionally. Once the peaches appear mushy and soft (after about 30 minutes), use a hand blender and blend the peaches in the pot.
- Place your pot of mashed peaches on medium-high heat and cook for 30 minutes.
- After 30 minutes, stir pectin into 1/4 cup of room temperature water and add to the peaches. Stir in with a wooden spoon. Continue cooking for another 30 minutes.
- When the peaches appear thick, grab a spoon to taste. If not sweet enough, add more sugar and stir.
- Sterilize Jars and lids.
Finishing
- Pour the hot jam into the hot jars, leaving about 1 inch headspace at the top of the jar. Avoid getting jam on to the jar rims and if needed, wipe jar rims (outside only) with a clean cloth.
- Tap the side of the jar gently to release any air bubbles then seal the jar with a lid and losely placed ring. Place jars into the oven at 220F on a baking sheet for 30 minutes for a better seal.
- Remove the jam jars from the stove and place of a dishcloth lined surface (such as your counter). Cover with another dishcloth to help keep the jars warm a little longer. Let rest overnight.
- The next day check if the jars are sealed properly by pushing down the center of each lid. If you hear a clicking sound it means the jar is not sealed well. Place any jars that are not sealed properly in the fridge to enjoy within 7-10 days.
Nutrition
Like it? Pin it for later!
