
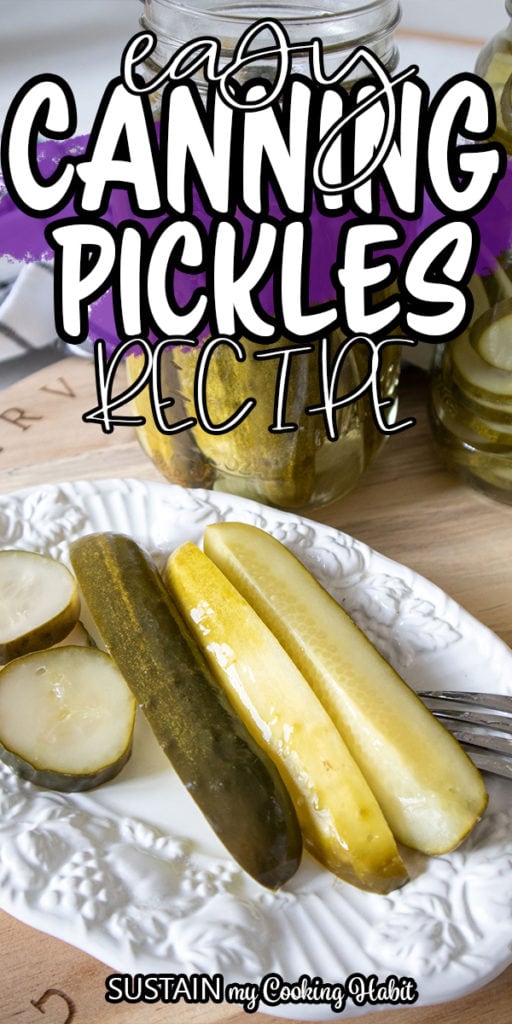
Easy Canning Pickles Recipe

After years of making homemade pickles, we’re sharing everything you need to know about canning your own batch of delicious, cool and crunchy pickles. You’ll be surprised at how easy this canning pickles recipe actually is!
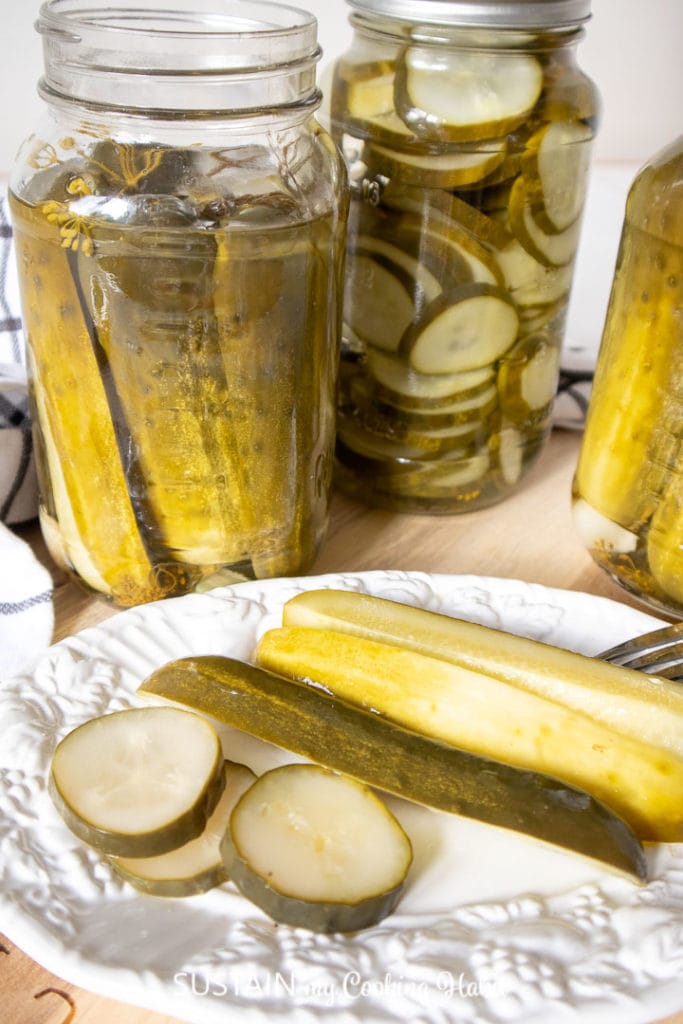
Deliciously refreshing and dill flavored, if you’ve yet to can pickles, you’ll wonder what took you so long to try. Have them on hand all year long to enjoy on their own as a snack or use them to another recipe, such as this creamy potato salad.
Best Pickles for Canning
Cucumbers for canning are sold in bushels or large baskets at most grocery stores, food stands and markets. Look for the freshest batch of pickling cucumbers, ones that are not showing any yellowing of the skin.

How to Make Pickles Crunchy when Canning
- The smaller and fresher the pickling cucmbers the crunchier they will be after canning.
- After purchase, don’t wait long to begin canning. Start canning as soon as possible to avoid pickles from softening and becoming overripe.
- Place as many cucumbers in the jar as possible to avoid using excess brine.
Ingredients:
Disclosure: This post contains affiliate links for your shopping convenience. Should you chose to purchase through these links we make a small commission at no extra cost to you. You can read our full disclosure here.
These proportions will make about 3 large jars of pickles.
- Dill pickles, 1 basket (3 litre size)
- 6 sprigs of fresh dill leaves and flowers OR 3 tsp of Pickling Seasoning
- 1 Tsp Peppercorn
- 6 Garlic cloves
- 6 Dried Bay leaves (optional)
- 1 part Pickling Vinegar
- 3 parts Water
- 1 tbsp Pickling Salt
Using 4 baskets of pickles (each basket is 3 litres), we made 13 jars of pickles. The ingredient proportions will vary depending how many pickles you plan on canning.
Equipment
Making Dill Pickles
Preparing the Pickles for Canning
The smaller pickling cucumbers tend to be a bit dirtier (or rather sandier) than the larger variety. Either way, you will need to clean the pickles before canning. Using a soft brush or clean scrubby, rub off any dirt, sand and the prickly ends off the pickles while rinsing under water. Pat dry or leave to air dry.
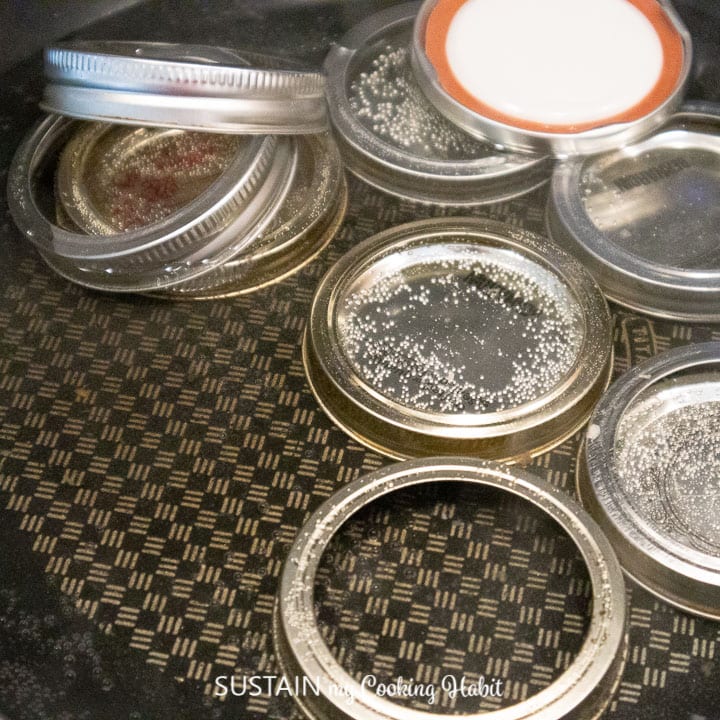
Sterilizing the Jars and Lids
The goal in sterilizing your jars is to kill any microbes on the inside surfaces of the jars and lids.
Place new or thoroughly cleaned jars (ideally fresh from the dishwasher washed on hot setting) and lids in a large cooking pot filled with water and boil on the stove top for 10 minutes.
Alternatively, arrange the clean jars, open side up, in a deep, oven-safe baking dish. Place the dish with the jars into the oven and heat to 210F for 15 minutes. The jars will be sterilized – make sure not to touch the insides of the jars with anything that hasn’t been sterilized.
Just before pouring the jam into the jars, boil the rims, lids, a pair of tongs and ladel on the stove top for 5 minutes. Use the tongs to place the lids on to the jars. Do not touch any of the inside surfaces with anything that hasn’t been sterilized.
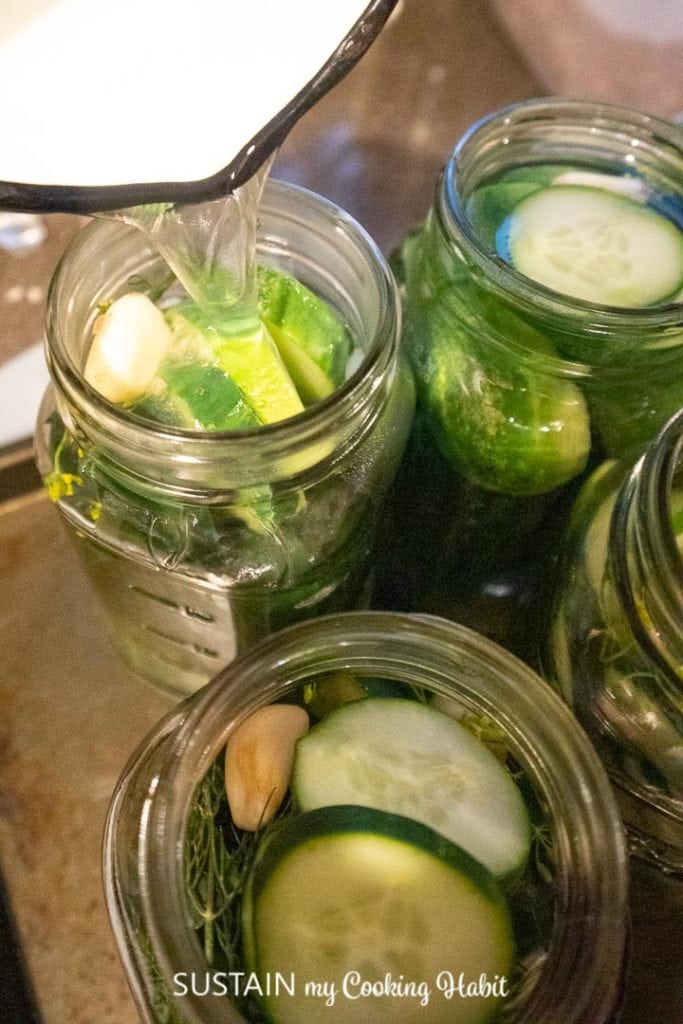
Filling the Jars
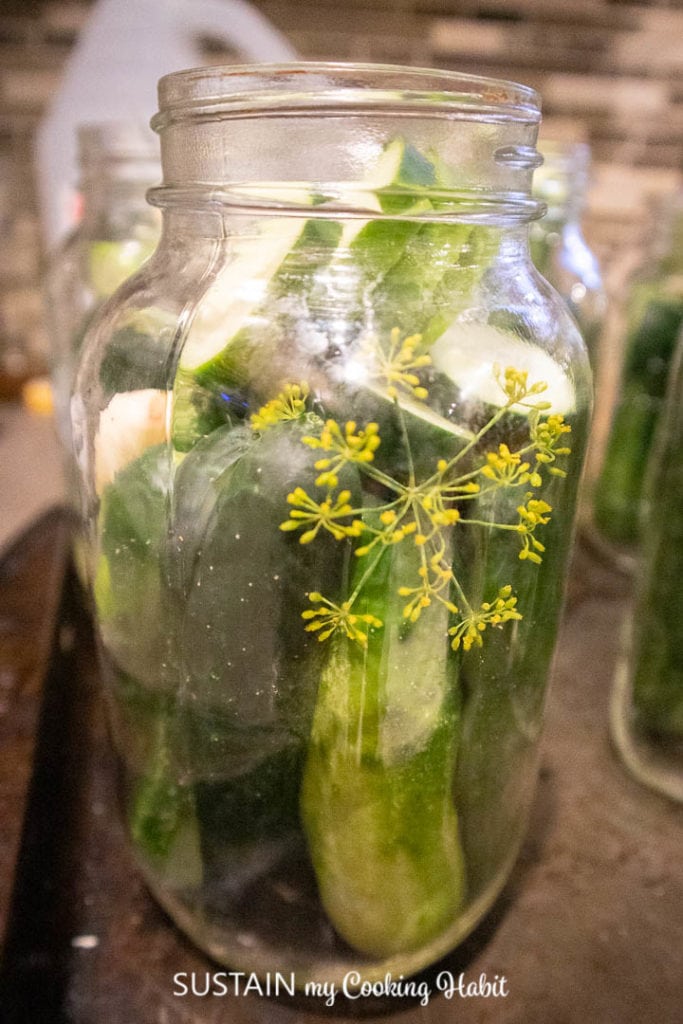
Using Fresh Dill
If you’re using fresh dill, rinse the fresh sprigs of dill leaves and flowers. Place a sprig of dill leaves and one flower in the bottom of the jar.
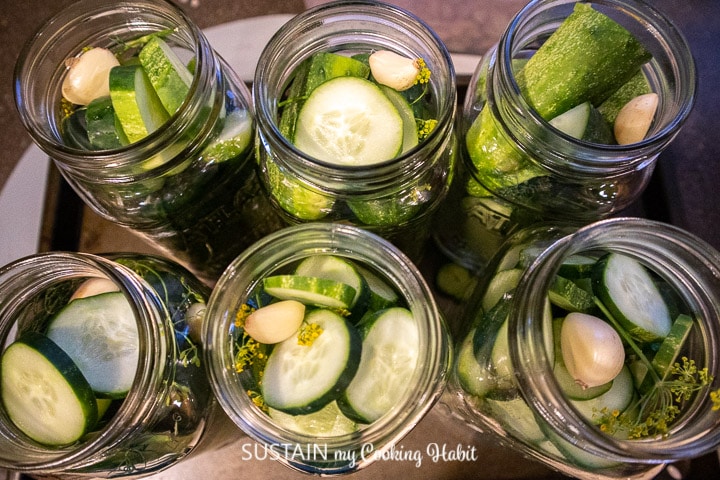
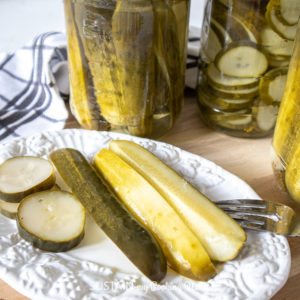
Next, add the pickles to the jars. Place pickles inside the jars filling them just to the rim. If pickles are too large for the jars, cut them into slices or spears so they will easily fit into the jars. You can mix up the sizes of the pickles in one jar but try to keep the similar sized and sliced pickles together.
Place another sprig of dill leaves and one flower at the top of the jar.
Add 1 tsp peppercorn and 2 whole cloves of garlic into the jar.
Using Pickling Seasoning Mix
Add the pickles to the jars. Place pickles inside the jars filling them just to the rim. If pickles are too large for the jars, cut them into slices or spears so they will easily fit into the jars. You can mix up the sizes of the pickles in one jar but try to keep the similar sized and sliced pickles together.
Add 1 tsp peppercorn and add 2 whole cloves of garlic into the jar along with 1 tsp of seasoning mix into the jar.
Preparing the Brine:
In a large cooking pot, mix 1 part pickling vinegar with 3 parts water with 1 tbsp pickling salt.
Boil for 5 minutes over medium heat.
Pour hot liquid into jars over the pickles about ½” below the top edge of the jar.
Seal the jars with sterilized lids while hot. Put closed jars on a deep baking tray and bake them in the oven at 220F for 1 hour to improve seal.
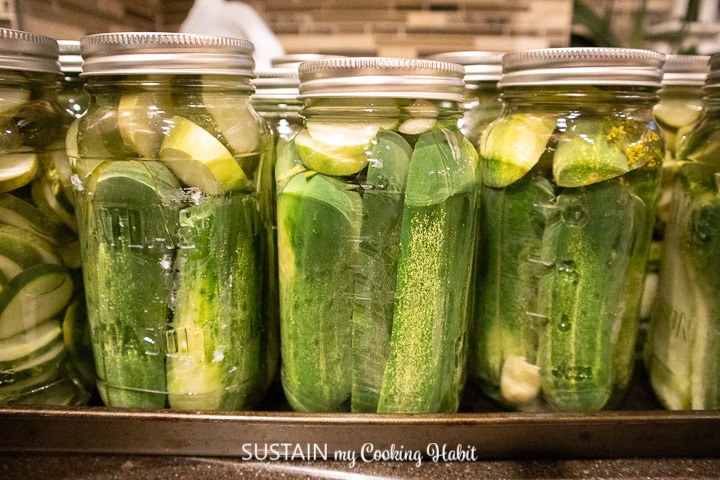
Remove jars from the oven. Cover jars with tea towel until cools.
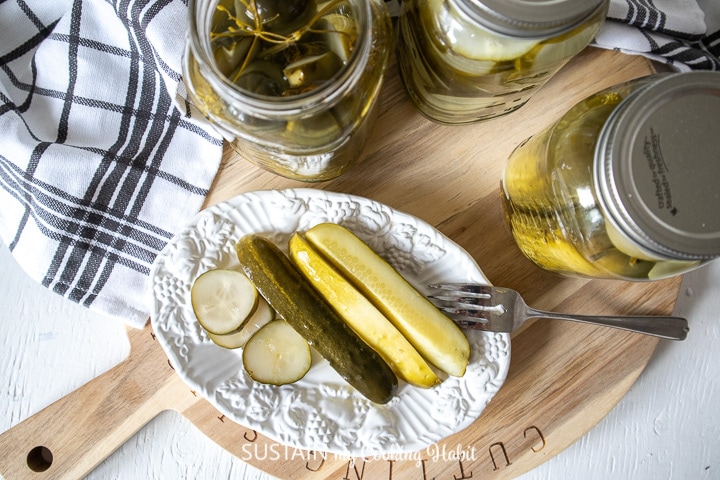
How Long do Pickles have to Sit after Canning
Pickles will be ready for eating after 3 weeks. Keep the jars stored at room temperature until opened and refrigerate after opening. Properly sealed pickles can last for up to a year when stored at room temperature.
What to Serve Pickles with:
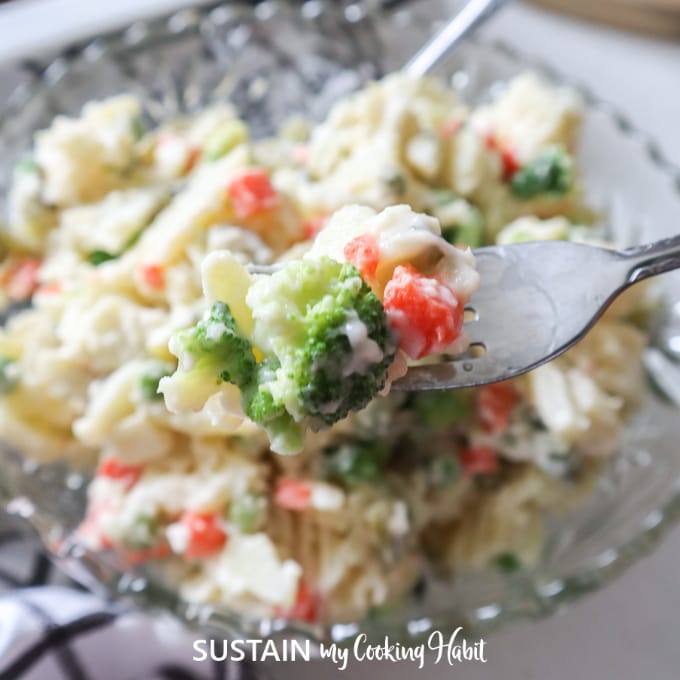
Creamy Potato Salad with Pickles 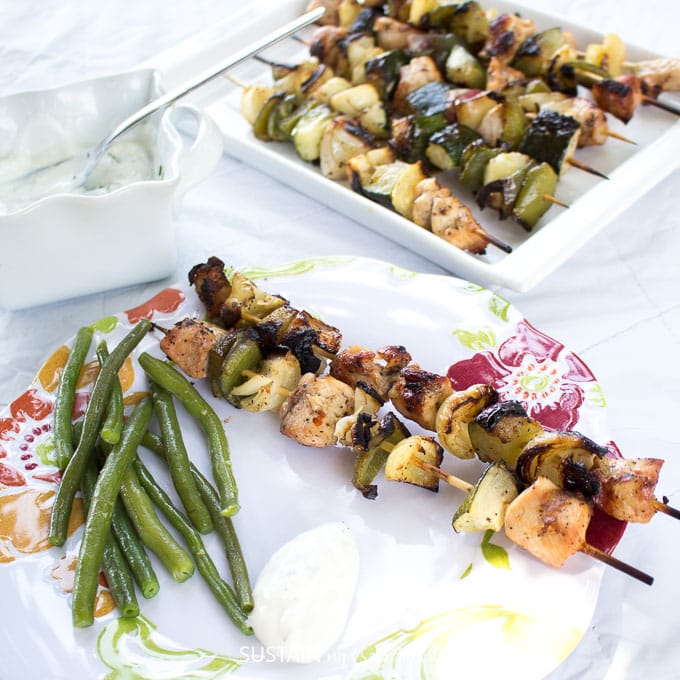
Chicken Shish Kabob with Dill
Like it? Pin it for later!
Easy Canning Pickles Recipe
Ingredients
- Dill pickles 1 basket (3 litre size)
- 6 sprigs of fresh dill leaves and flowers OR 3 tsp of Pickling Seasoning
- 1 Tsp Peppercorn
- 6 Garlic cloves
- 6 Dried Bay leaves optional
- 1 part Pickling Vinegar
- 3 parts Water
- 1 tbsp Pickling Salt
Instructions
- Using a soft brush or clean scrubby, rub off any dirt, sand and the prickly ends off the pickles while rinsing under water. Pat dry or leave to air dry.
- Sterilize jars and lids
Using Fresh Dill
- Rinse the fresh sprigs of dill leaves and flowers. Place a sprig of dill leaves and one flower in the bottom of the jar.
- Next, add the pickles to the jars. Place pickles inside the jars filling them just to the rim.
- If pickles are too large for the jars, cut them into slices or spears so they will easily fit into the jars
- Place another sprig of dill leaves and one flower at the top of the jar.
- Add 1 tsp peppercorn and 2 whole cloves of garlic into the jar.
Using Pickling Seasoning Mix
- Add the pickles to the jars. Place pickles inside the jars filling them just to the rim.
- Add 1 tsp peppercorn and add 2 whole cloves of garlic into the jar along with 1 tsp of seasoning mix into the jar.
Preparing the Brine
- In a large cooking pot, mix 1 part pickling vinegar with 3 parts water with 1 tbsp pickling salt.
- Boil for 5 minutes over medium heat.
- Pour hot liquid into jars over the pickles about ½” below the top edge of the jar.
- Seal the jars with sterilized lids while hot. Put closed jars on a deep baking tray and bake them in the oven at 220F for 1 hour to improve seal.
- Remove jars from the oven. Cover jars with tea towel until cools.
- Pickles will be ready for eating after 3 weeks. Keep the jars stored at room temperature until opened and refrigerate after opening.


I made these pickles last July and they were gone quickly. I’m going to make more this year!